
Though you can install Microsoft’s Windows 10 Technical Preview over
your current Windows, or dual boot it, the easiest and safest way to try
out any new platform is to put it in a virtual machine. By using free
tools such as Oracle’s VM Virtual box, you can create a computer that
runs in a window on your desktop, allowing you to experiment without
leaving your familiar environment behind. Here’s how to install Windows
10 in a virtual machine.
1. Register as a Windows Insider at preview.windows.com by following the prompts to click the Get Started button, press the Join Now button, sign in with your Microsoft account and agree to the program’s terms.

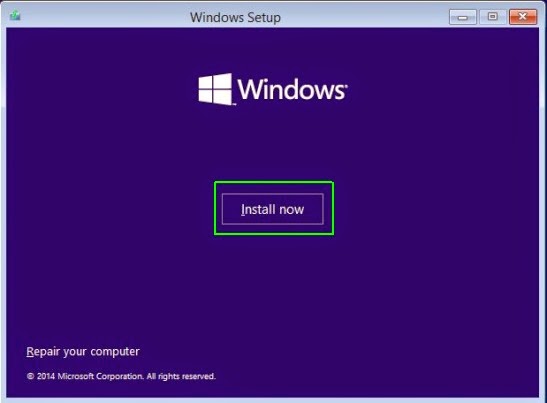
2. Click install Technical Preview.

3. Click Get the ISO files at the bottom of the page if you don’t already see a list of links to different versions of the OS.

4. Download the correct version for your language and computer.
For most PCs, you would want English 64-bit. Some older systems and
Atom-powered tablets might require the 32-bit version. If you’re doing
an upgrade install over Windows 8, use the same version you have.

5. Install Oracle VM VirtualBox if you don’t have it already.
6. Click New in VirtualBox.
6. Click New in VirtualBox.

7. Name the operating system (ex: “Windows 10″), select Windows as the type and Windows 8.1 (64-bit) as the version and Click Next.

8. Set the memory size to at least 2048 MB and click Next. If you have 8GB or more, consider making it larger.

9. Click Create, leaving the selection on “Create a virtual hard drive

10. Click Next, leaving the type set to VDI.


14. Select storage from the left window pane.

15. Select the optical drive in the Storage Tree and click the disc icon under Attributes to select a virtual disc.

16. Select the Windows Technical Preview ISO file and click Open.


19. Click Next on the screen which shows your language region choices.


22. Select Custom install.


24. Click Use express settings.


26. Verify your account by entering either your email address or phone number. You will be sent a code to enter.


27. Select “Set this up as a new PC” if prompted to import settings from another computer associated with your account. Click Next.


What size laptop do you want?
No Preference
10 to 12 inches: The
thinnest and lightest notebooks around have 10 to 12-inch screens.
However, you may sacrifice keyboard size for portability. Many laptops
in this class double as tablets.
13 to 14 inches: Provides
the best balance of portability and usability. Laptops with 13- or
14-inch screens usually weigh between 3 and 4.5 pounds.
15 inches: The
most popular size, 15-inch laptops are the least expensive and provide
plenty of desktop real estate. While most 15-inchers are easy to take
from room to room, some are on the bulky side.
17 to 18 inches: If your laptop stays on your desk all day, a 17- or 18-inch system will likely provide everything you need for work and play. Many gaming notebooks are in this size category.
Source : blog.laptopmag.com
No comments:
Post a Comment